WhatsApp Business API | Integration with Freshdesk
Hi there!
Would you like to notify your customers via WhatsApp and respond to their questions in your Freshdesk account?
In this tutorial, you will learn to integrate WhatsApp conversations with Freshdesk tickets. This integration will allow your system to trigger the sending of a WhatsApp notification, open a ticket for it in Freshdesk, and allow your agents to respond to customers from Freshdesk directly by adding Public Notes to the ticket.
You will need
-
- Your WABA phone number that tyntec has approved
-
- Your tyntec API key from your tyntec account
-
- A Freshdesk account with the Admin role and your Freshdesk API key
-
- A Freshdesk account with the Agent role
-
- yarn and your favorite text editor or IDE with TypeScript highlighting
-
- A ngrok account with the binary installed for development
Step One: Get your integration app ready
For your quick start with integrations, we have prepared a sample integration app. Look at what the code does. The app contains a webhook module. Notice the code in the src/webhooks directory:
- webhooks.controller.ts handles the webhooks callbacks.
- webhooks.service.ts handles the API calls to tyntec and Freshdesk.
Let’s quickly get your app running in the development style:
1. Clone the api-samples repository and go to the wa-integrations/freshdesk folder.
2. Install dependencies:
yarn install
3. Copy the file .env-example to .env and set environment variables in .env:
- WABA_NUMBER — your WABA number in the international format without the leading +/00
- TYNTEC_API_KEY — your API key from tyntec
- FRESHDESK_API_KEY — your API key from Freshdesk
- FRESHDESK_DOMAIN — yourcompany.freshdesk.com
- REQUESTER_EMAIL — the email of the requester for these tickets
4. Run ngrok in a terminal:
ngrok http 30005. And finally, start the app in another terminal:
yarn start
You now have all the API endpoints in your app ready and running!
Step Two: Subscribe your webhook in tyntec
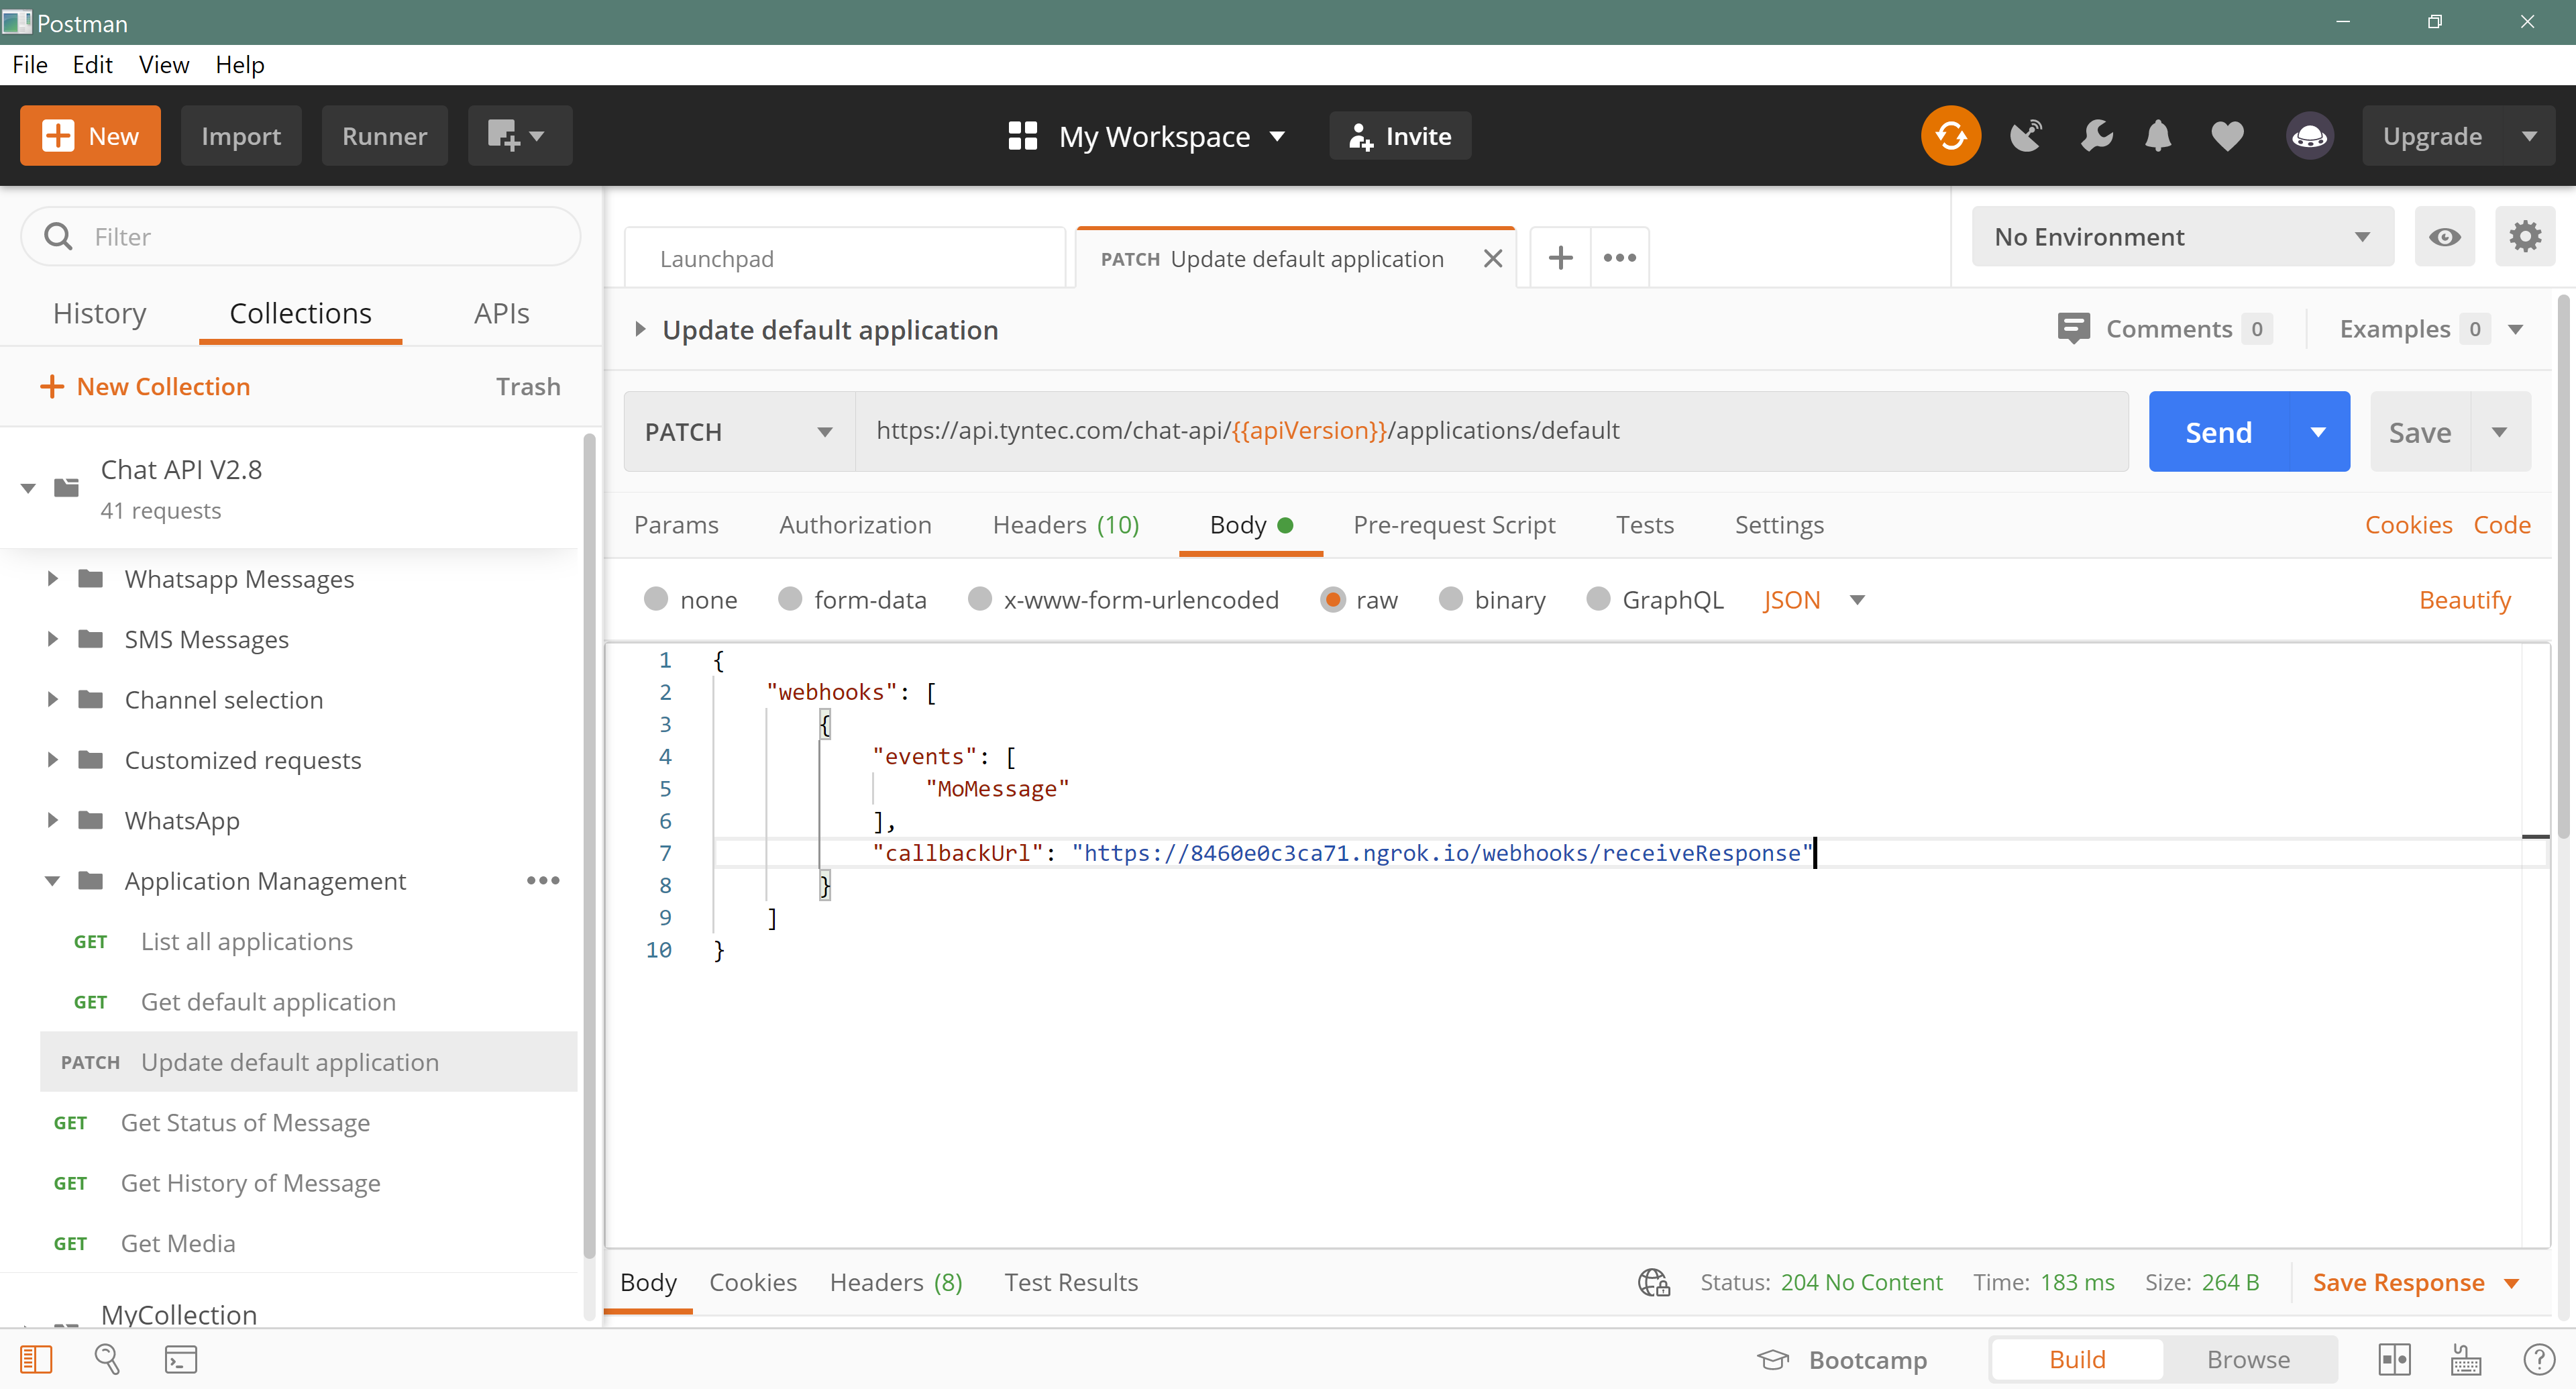
Let tyntec know where to deliver WhatsApp messages from customers. You are going to subscribe the webhook to tyntec via an API call in Postman.
1. Download our Postman collection, unpack and import it in Postman.
2. Right-click the collection and select Edit.
3. Go to Variables and set the apikey value to your tyntec API key.
4. Go back to your collection, and in the folder Application Management open the patch Update default application (see the reference for details).
5. Edit the Body to update the callbackUrl with your webhook for the MoMessage event. The request body should look like this:
{
  "webhooks": [{
    "events": [
      "MoMessage"
    ],
    "callbackUrl": "https://<YOUR_SERVER>/webhooks/receiveResponse"
  }]
}
6. Now hit Send, and you should get the 204 status if everything is okay.
Cool! Now tyntec knows where to deliver WhatsApp messages from your customers.
Step Three: Subscribe your webhook to Freshdesk
Let Freshdesk know where to forward Public Notes from tickets. You are going to set an automation rule as follows (or see Using webhooks in automation rules for details):
- Go to Freshdesk > Admin > [Helpdesk Productivity] Automations, switch to Ticket Updates, and click the button New rule.
- Define the rule.
- Name the rule, for example: Send Public Note as WA message
- When an action performed by… Agent: Any (leave empty)
- Involves any of these events… Note is added — Public note
- Perform these actions: Trigger webhook
- Request type: POST
- URL such as: https://<YOUR_SERVER>/webhooks/sendResponse
- Encoding: JSON
- Content: Simple and add properties: Ticket ID, Last Public Comment, and Contact Phone.
3. Hit the button Preview and save.
Note: The trigger will fire only if an Agent role account adds the Note
Congrats! Now Freshdesk knows where to forward new Public Notes.
Step Four: Try it out!
Guess what, it is testing time!
Let’s simulate the trigger from your system to send an initial notification to your testing customer.
1. Create a new collection in Postman and add a new request:
POST https://<YOUR_SERVER>/webhooks/initConversation
{
  "customerPhone": "123456789",
  "customerName": "John Doe",
  "templateParams": ["April 1", "2 PM"]
}
In Freshdesk, you need the name and phone number to create a new contact along with a ticket. The sample app uses the phone number and template parameters to send a template message to WhatsApp. In our case, we are using a template that notifies the customer of an appointment, which takes two parameters (date and time)
Hit the Send button. You should get the 201 status if everything is okay
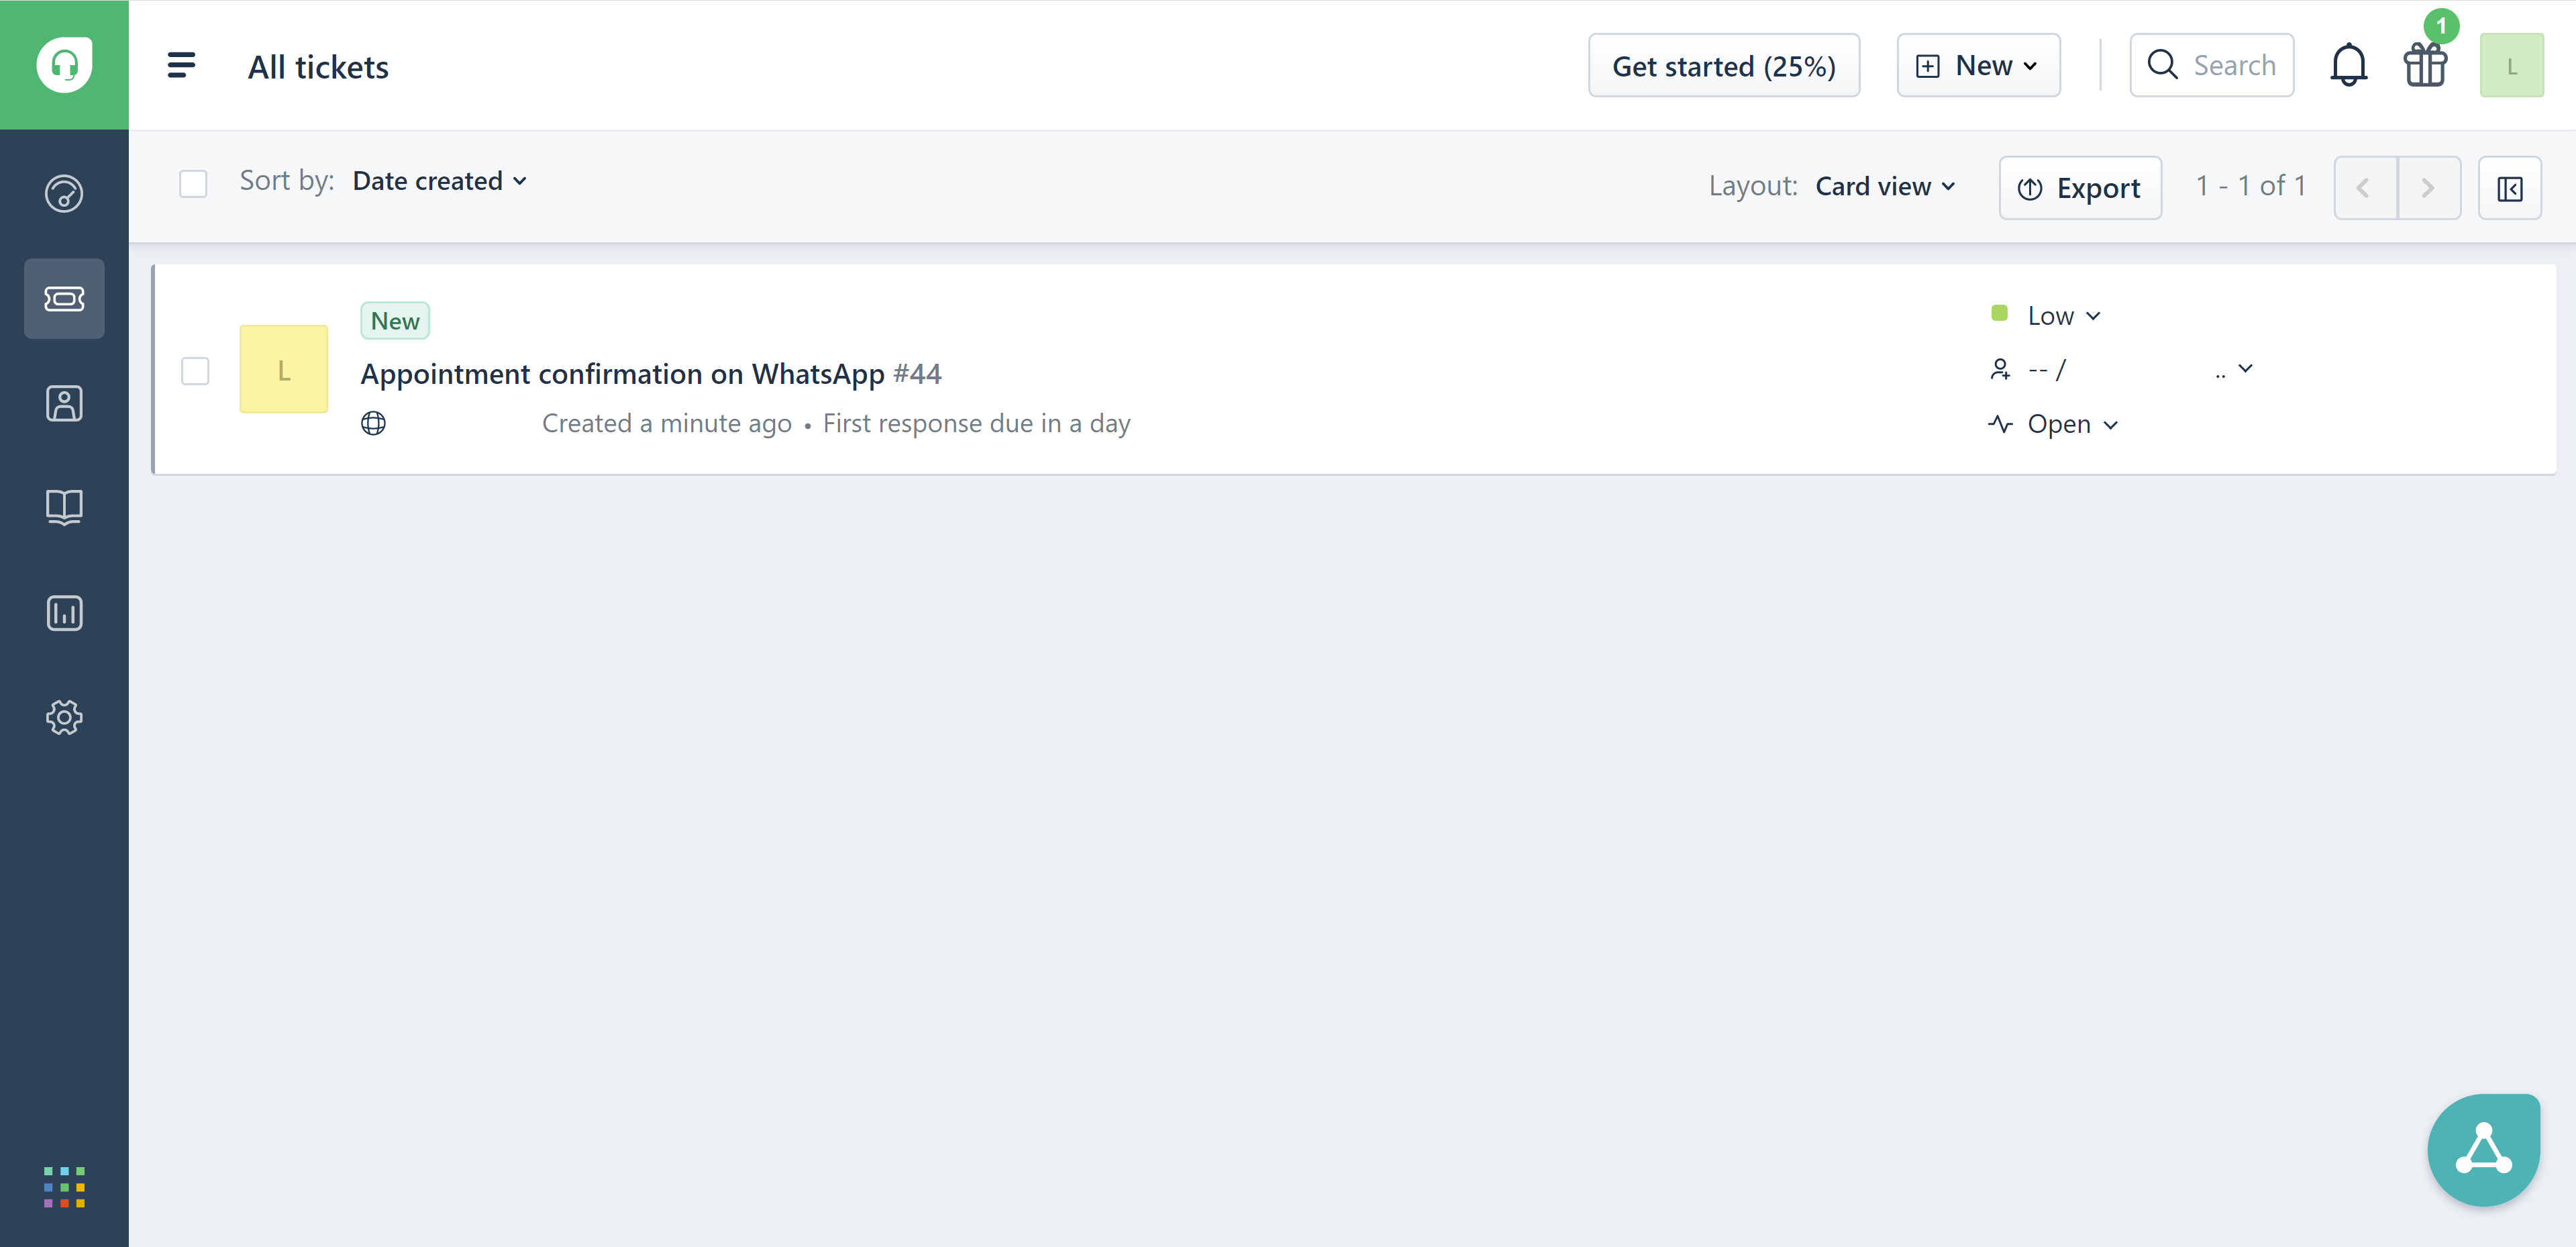
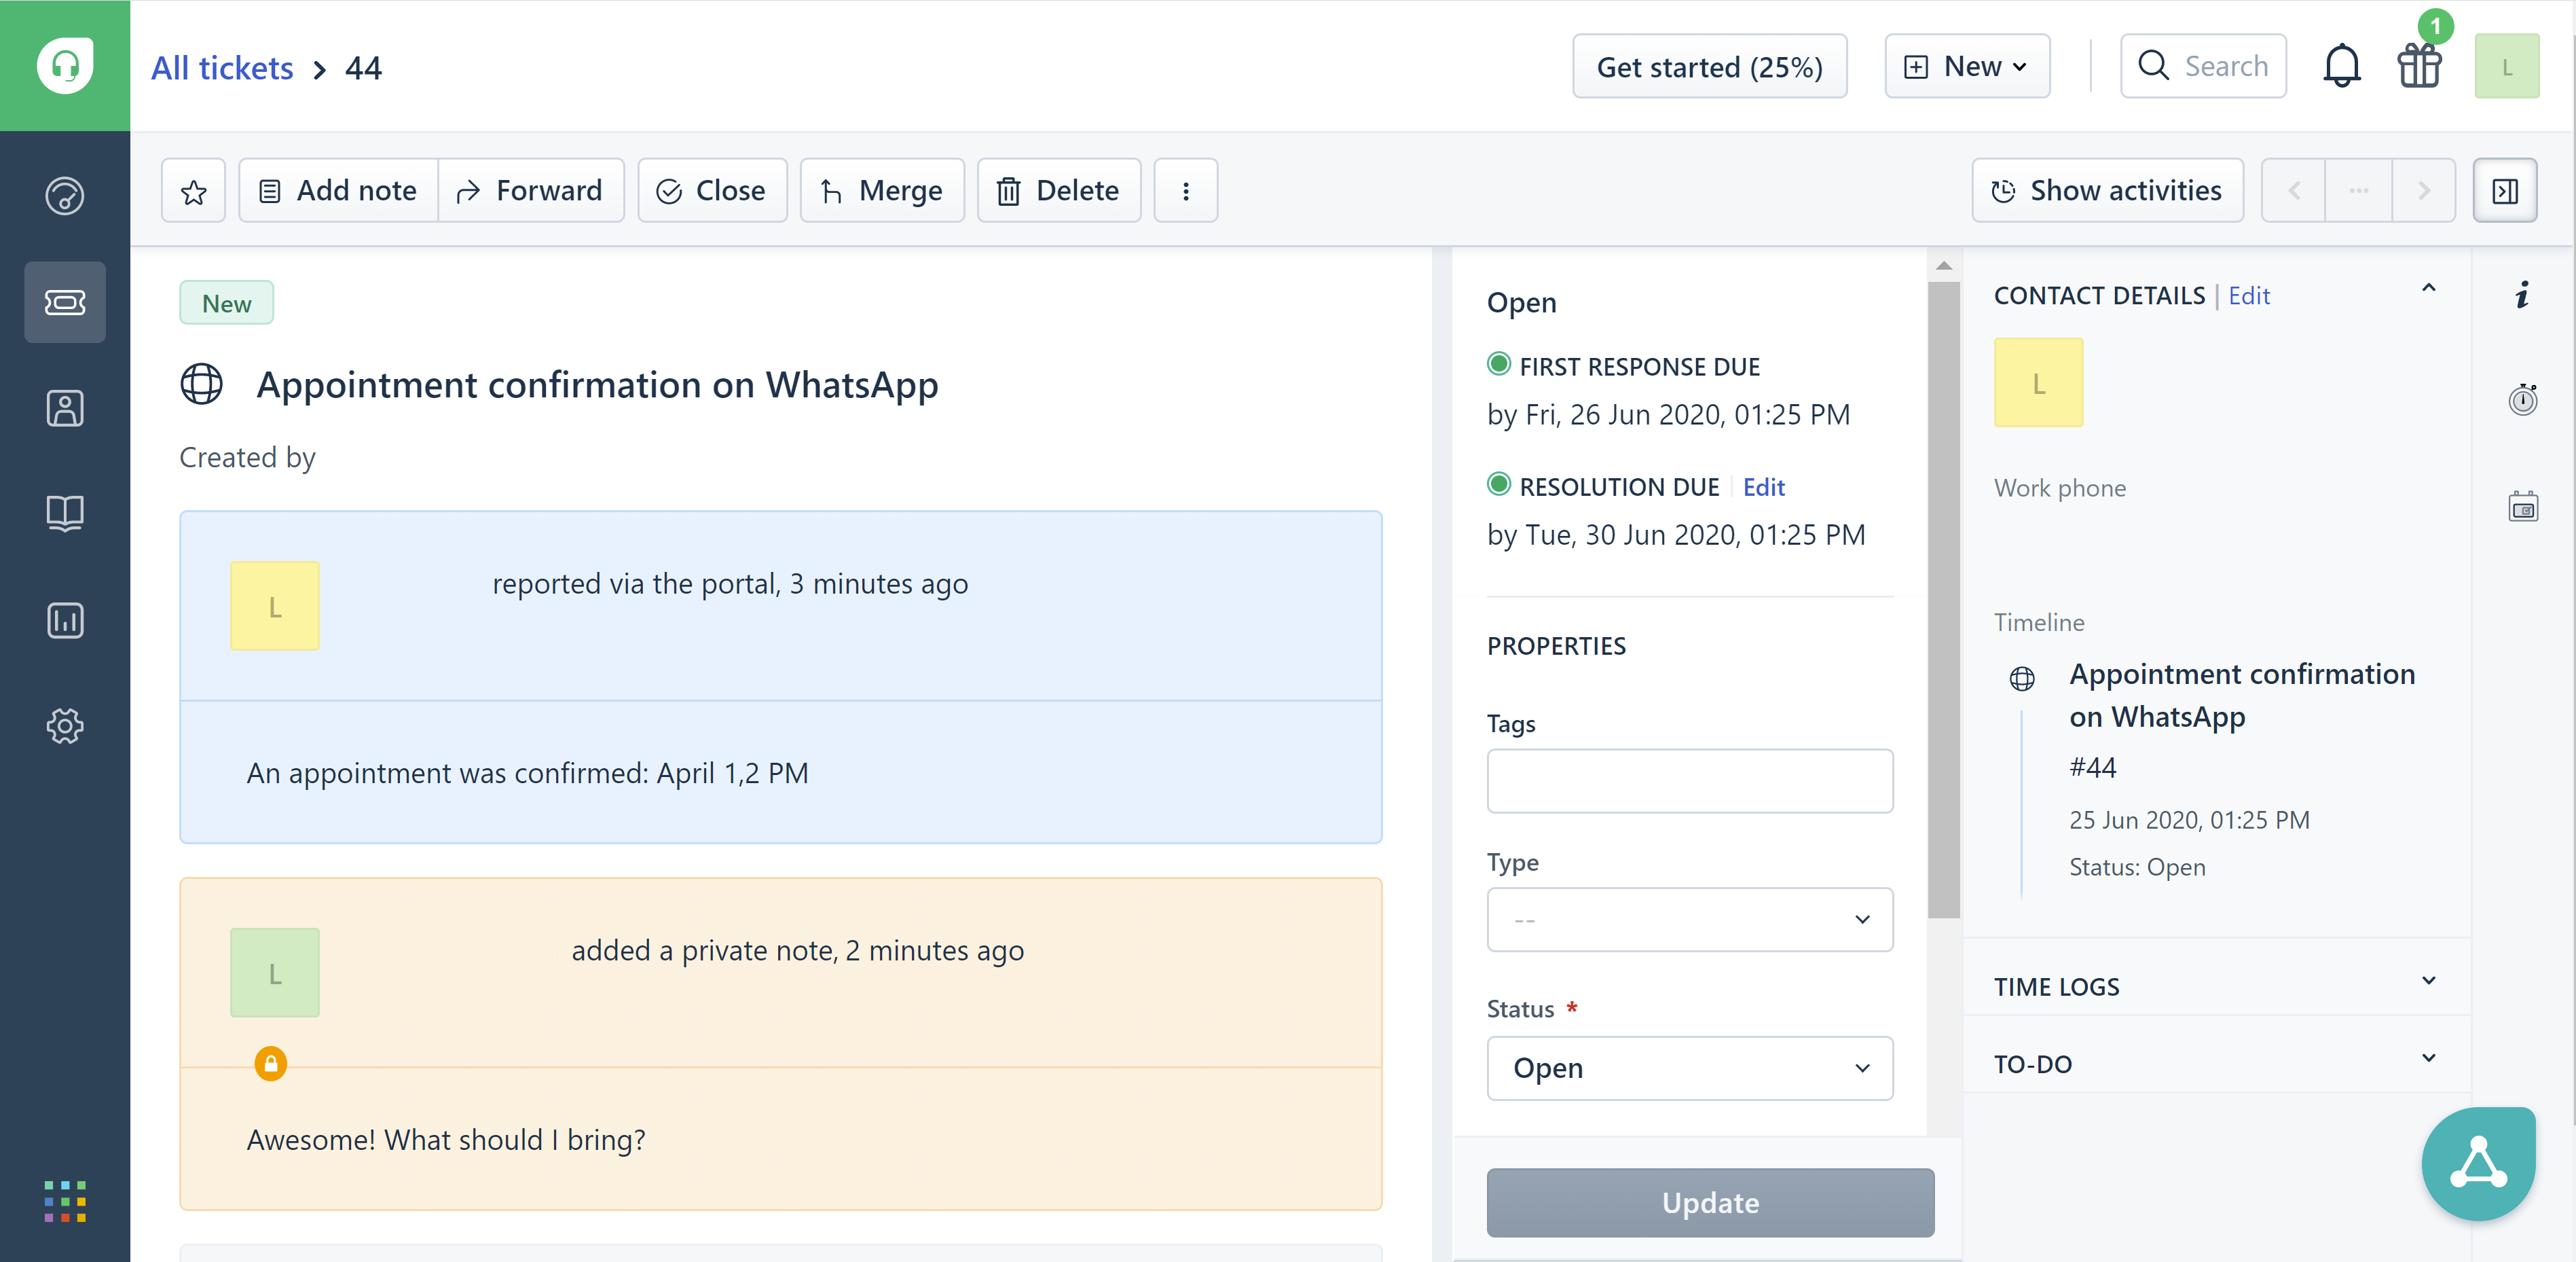
2. Now login to your Freshdesk under the Agent account, and voila! You have a new ticket
3. Check your testing customer WhatsApp – you should also have the notification there. Respond to it.
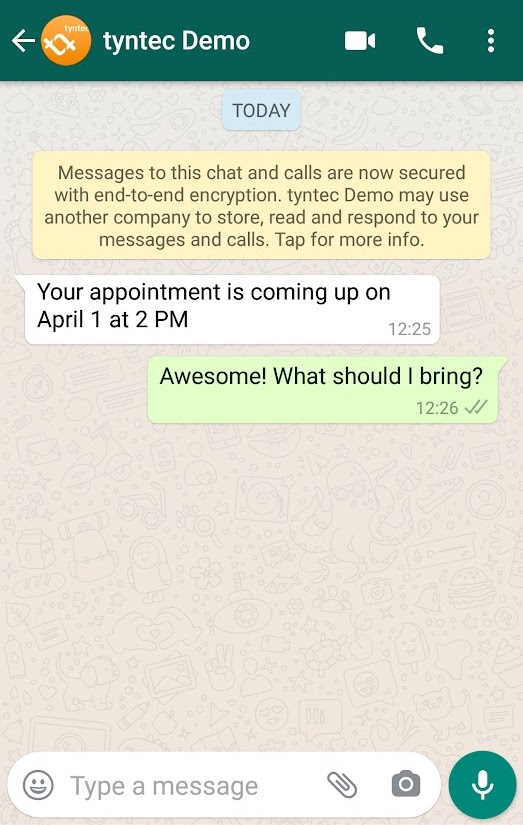
And the response is added to your ticket
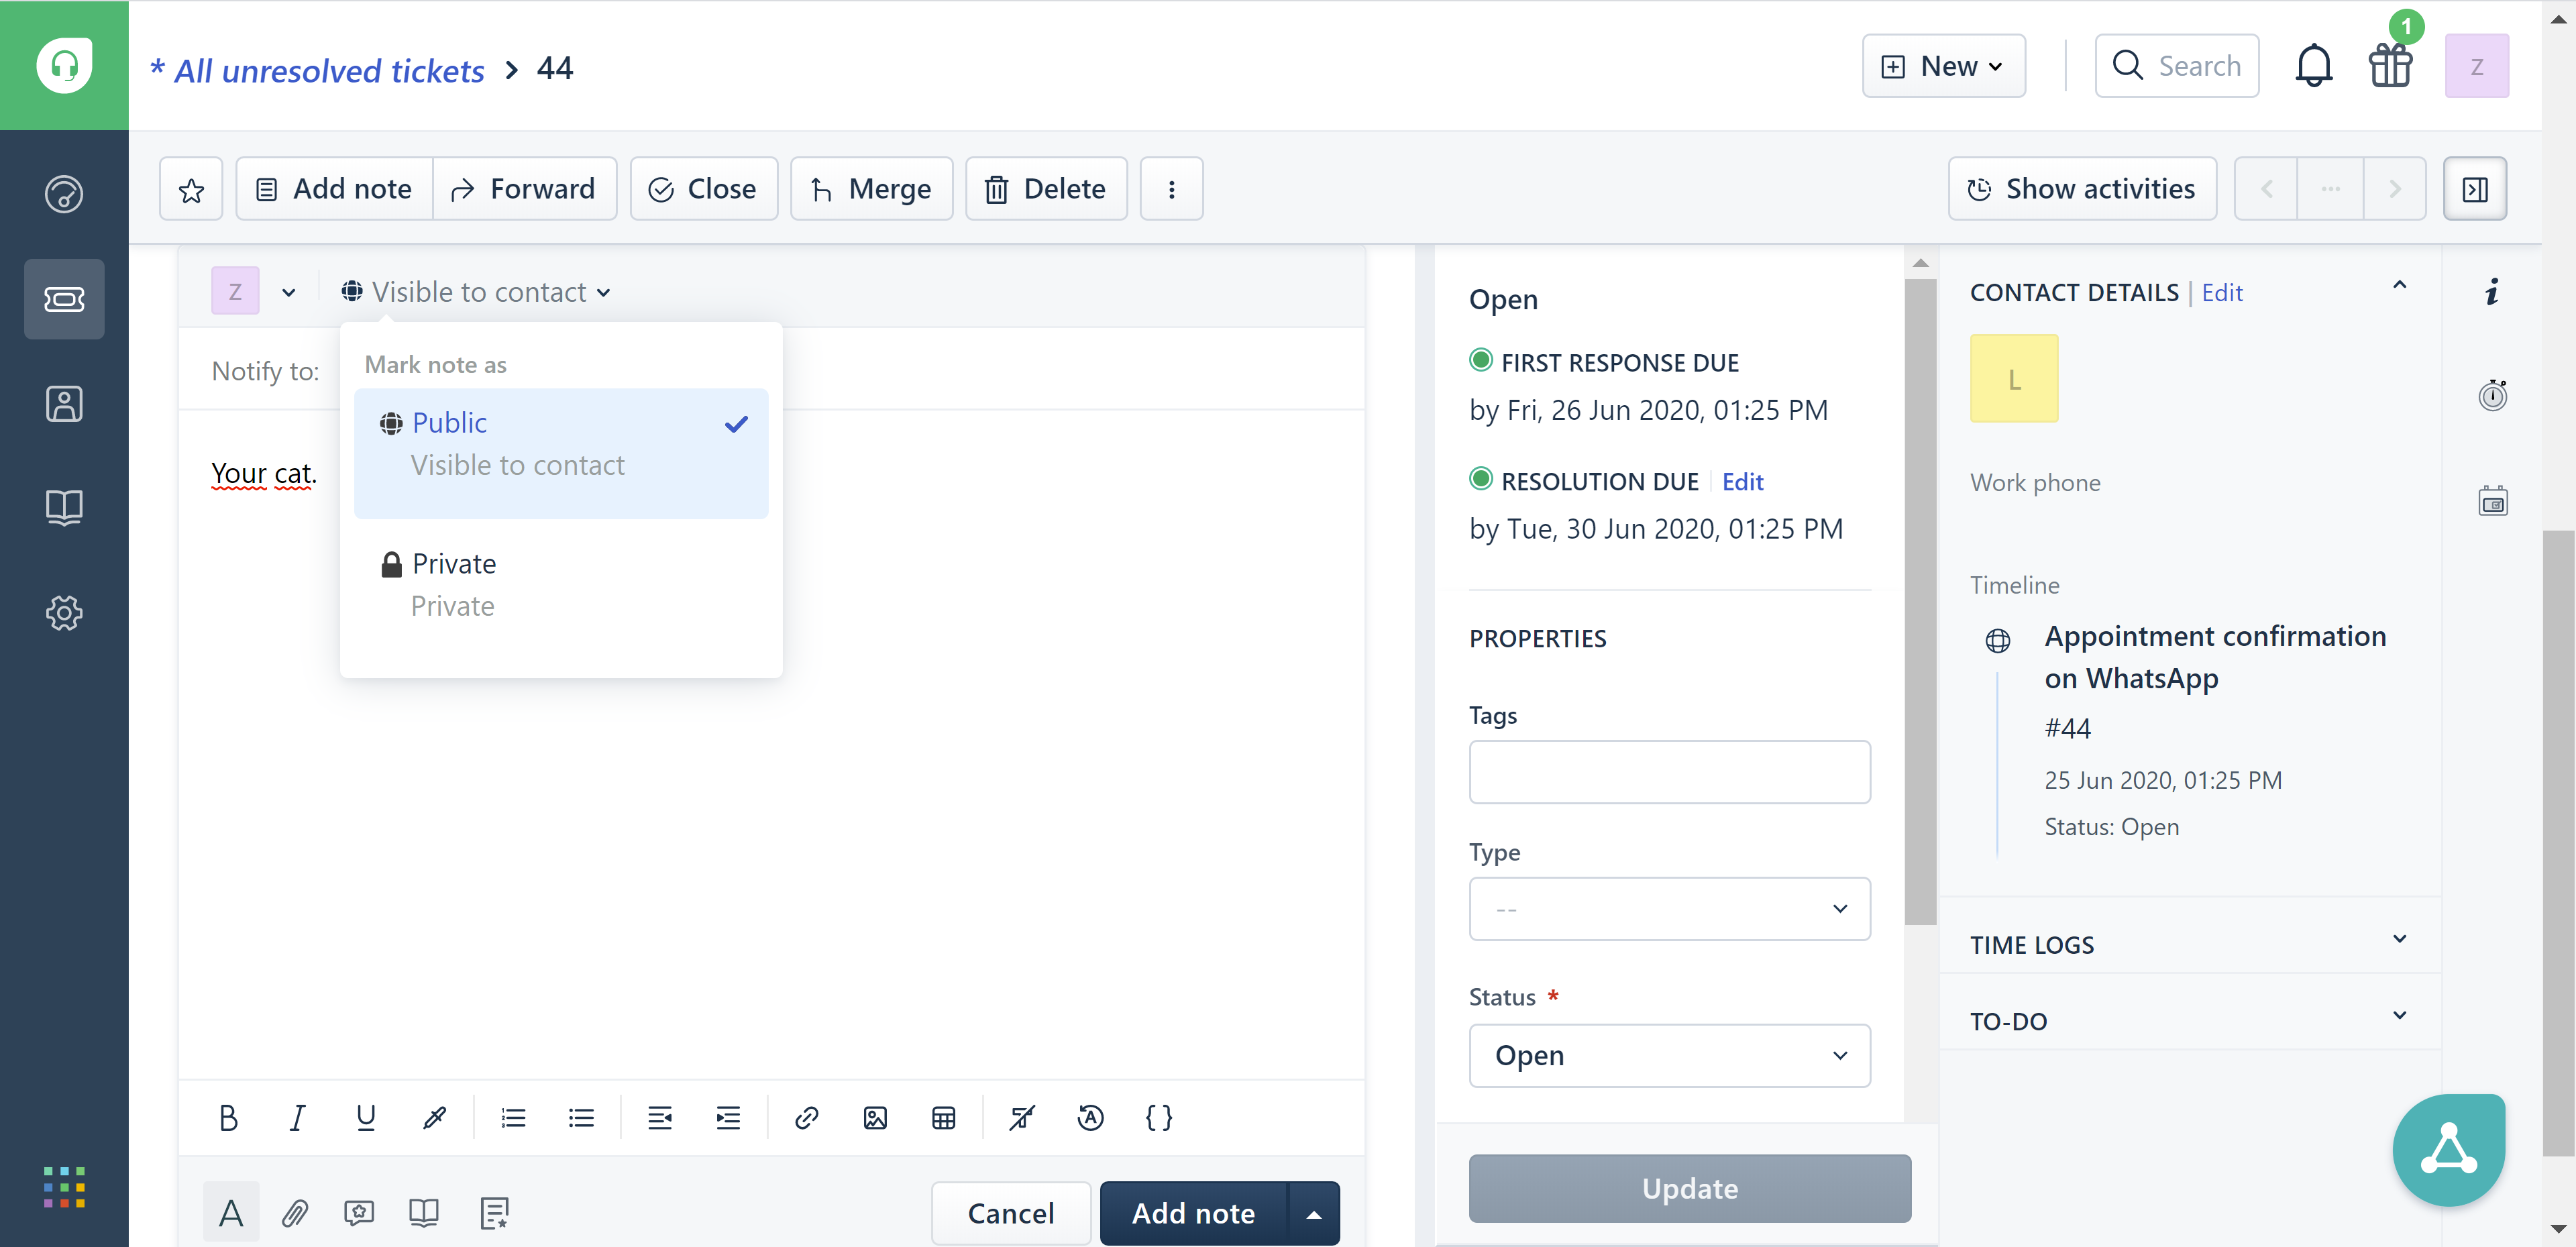
4. Now reply to your customer as the agent (add a note and set it to Public).
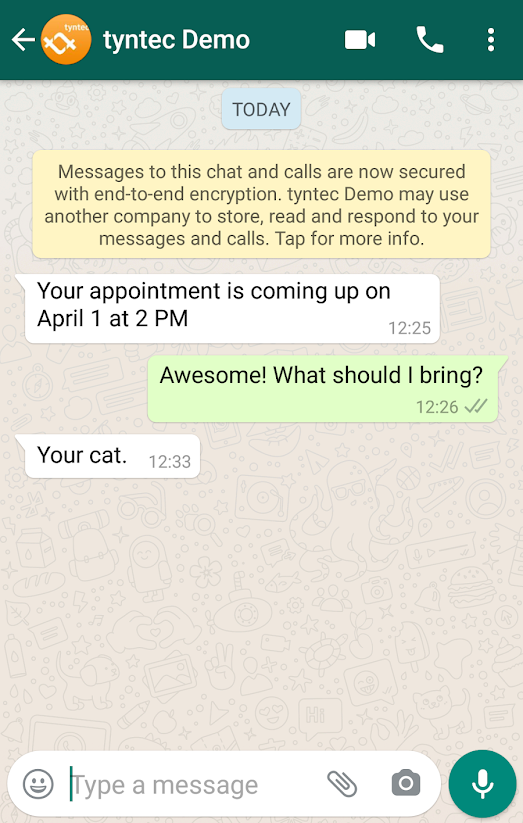
And watch the reply arrive in the customer’s WhatsApp!
More?
If you want to use a different template to notify the customer, you need to update the function sendWhatsAppTemplate() in webhooks.service.ts and the number of parameters accepted by the template in dto\initConversation.dto.ts.
Also, subscribe the webhook to tyntec in the system to trigger the notifications automatically.
Tip: Freshworks provide further integrations as part of their services. For example, you may install Freshdesk in Freshsales to allow your salespeople to see the tickets from Freshdesk!