Quick Start
Hi there!
Our services allow both to send SMS messages (mobile terminated messaging, SMS-MT) and to receive SMS messages (mobile originated messaging, SMS-MO).
Before you begin implementation of sending SMS (and receiving SMS, eventually), you need to set up the service in your Business Center first.
Note: If you need only to send SMS, skip the steps Four and Five.
Log in to your Business Center and go to SMS from the left menu.
Step One: Whitelist a phone number and try it out
If you want to try out how sending SMS works before you start setting up anything else or implementing, this is the perfect time to do it. During your trial period, you can send SMS only to phone numbers whitelisted in your account to test it.
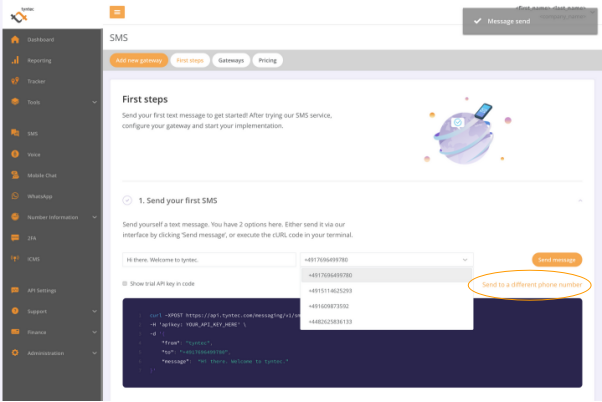
1. If you don’t have any whitelisted phone numbers yet, click Send to a different phone number on the right.
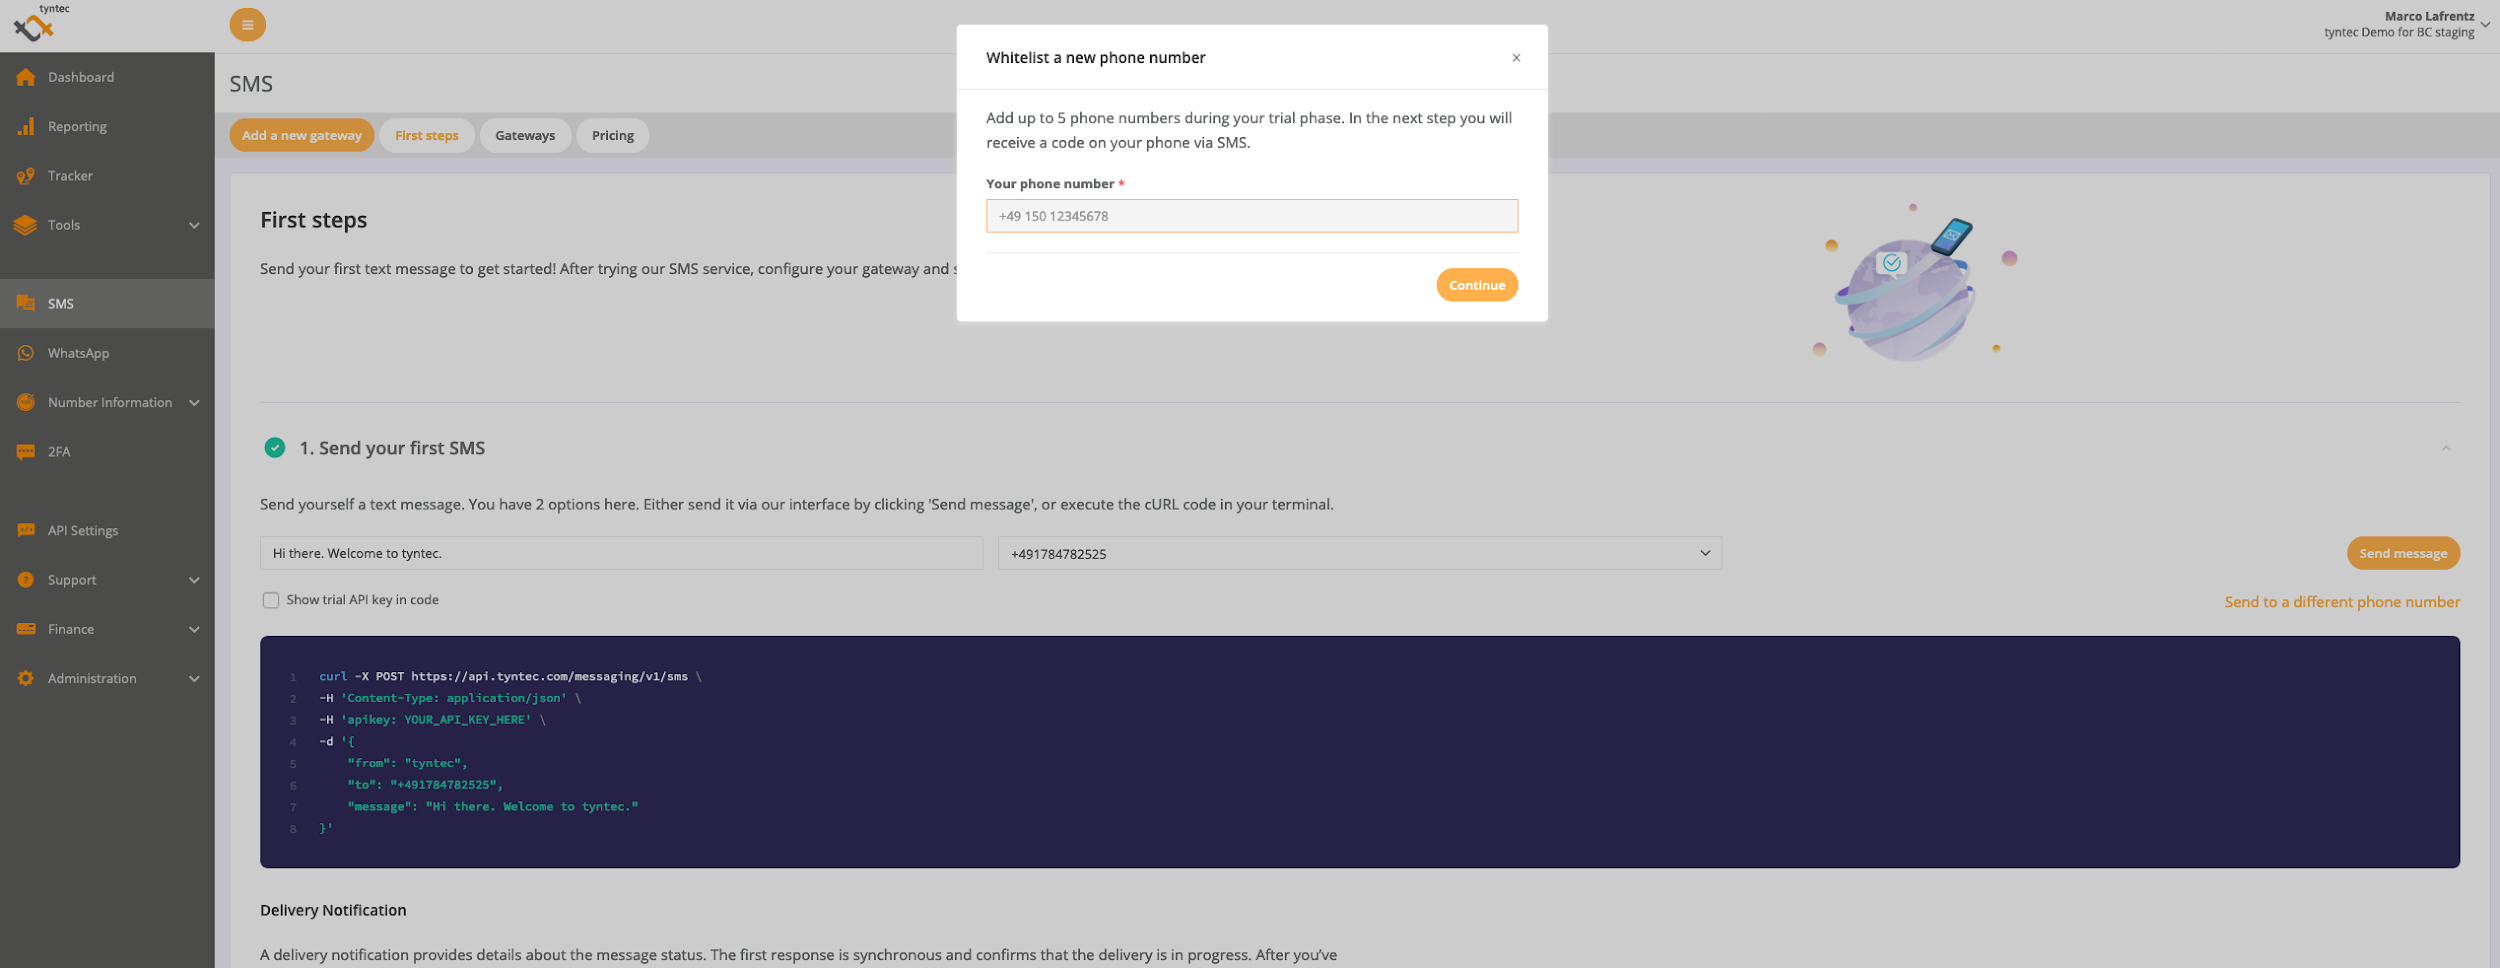
2. Enter your phone number and hit Continue.
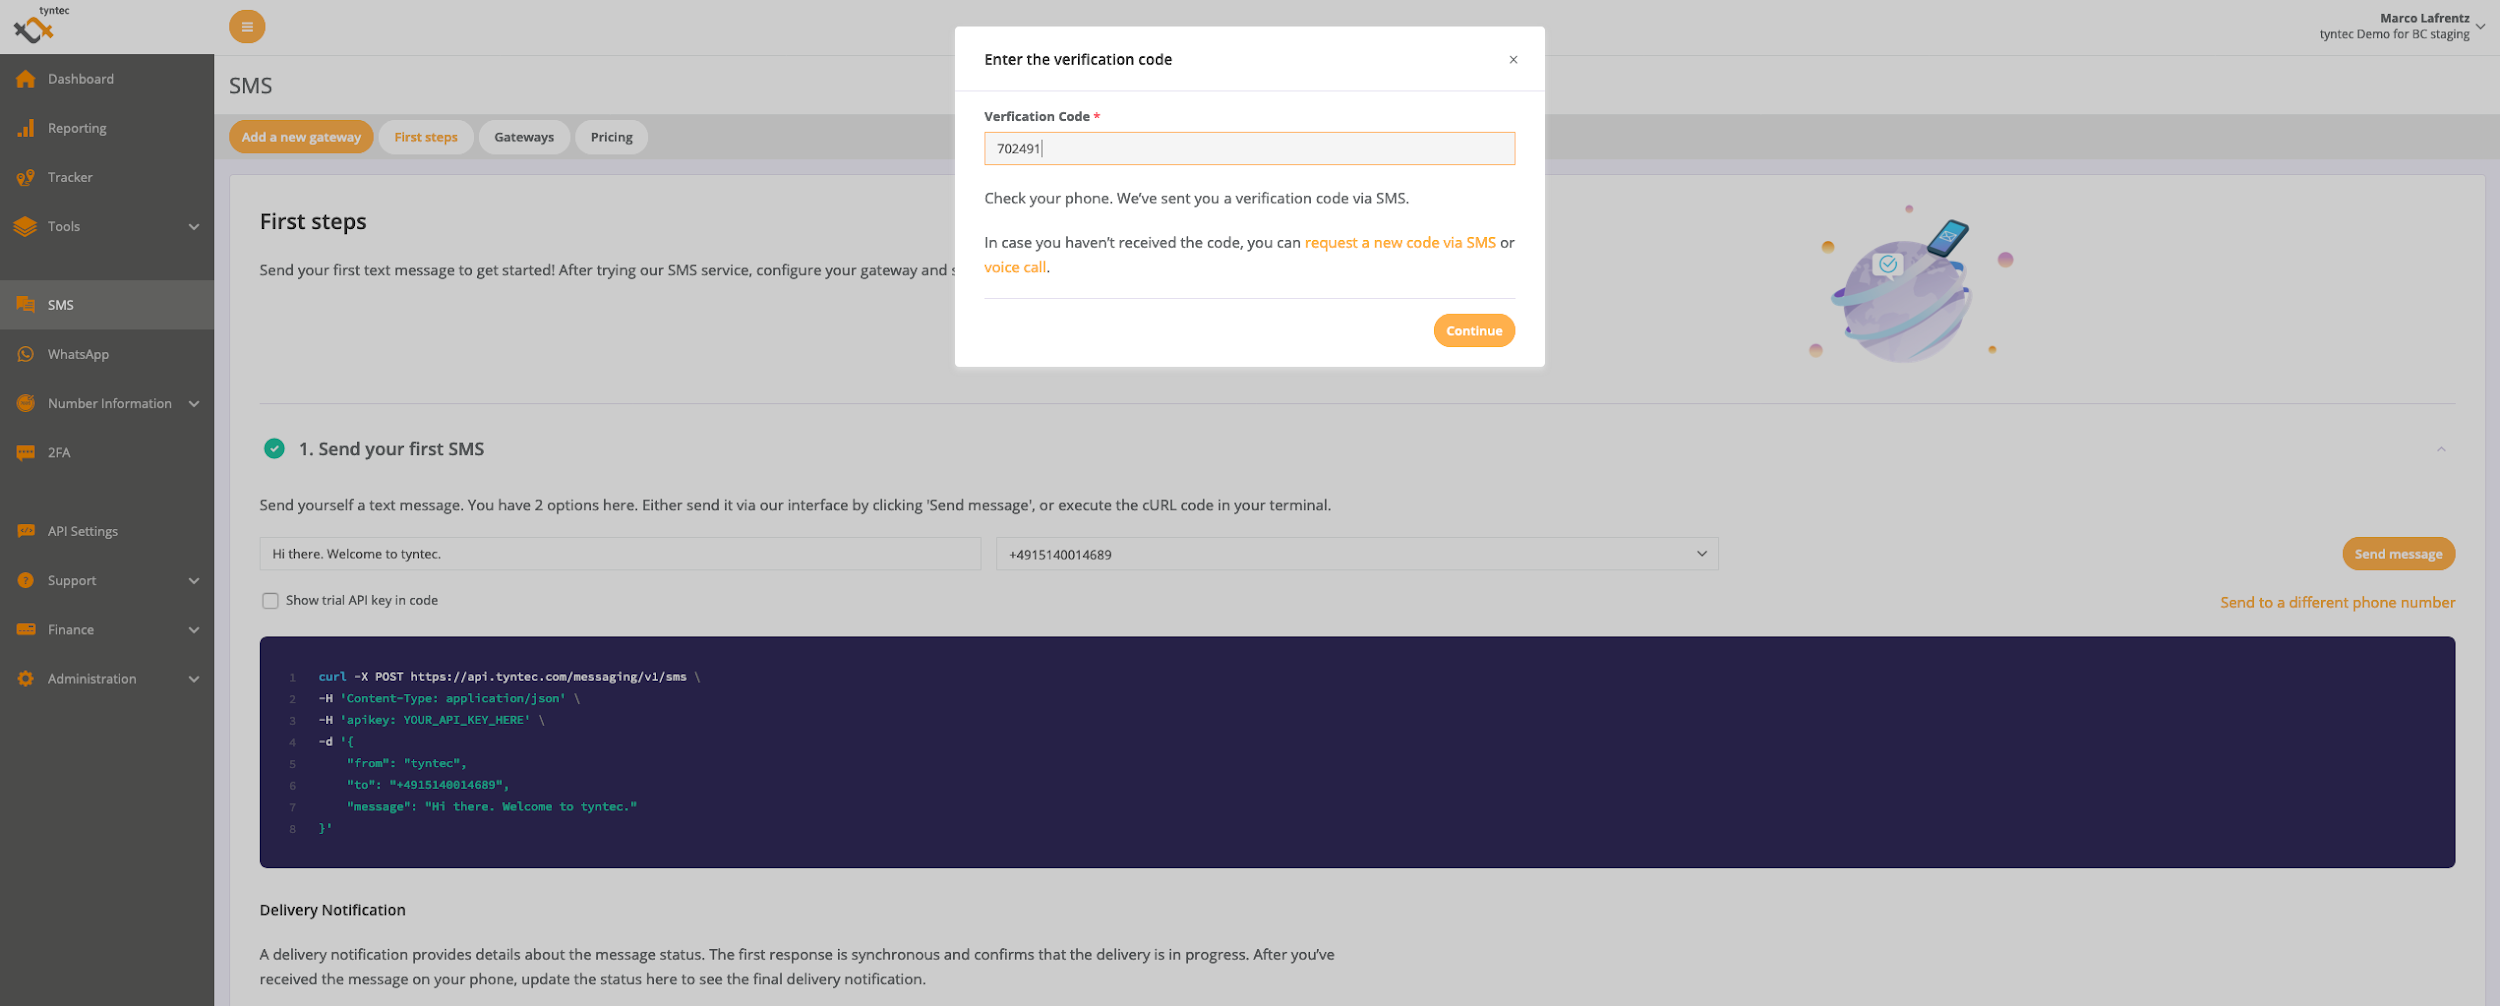
3. You should have a message with a verification code on your phone, so fill it in and hit Continue again.
4. (Optionally) send your first SMS to try it out!
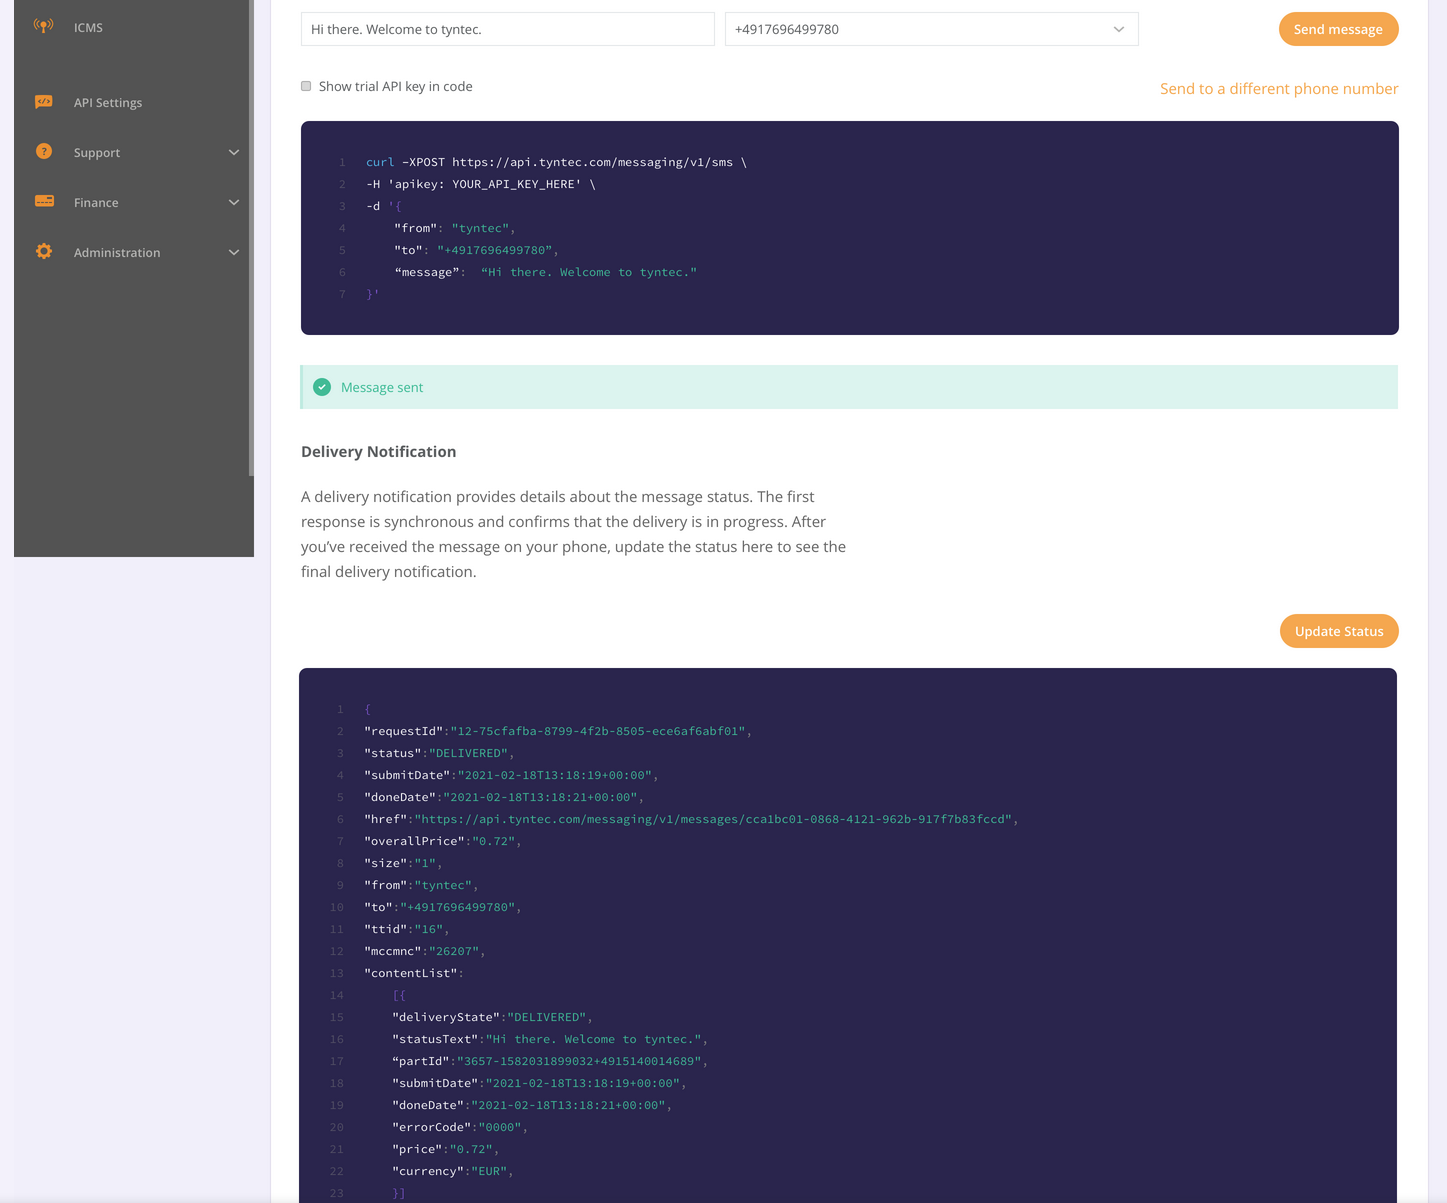
Your phone number is now ready for testing from your app as well.
Step Two: Configure your gateway for sending SMS
The gateway says how you’re going to interface your app with tyntec. Unless you have specific requirements to use SMPP, we recommend that you go with the REST API.
1. Click on the button Add new gateway.
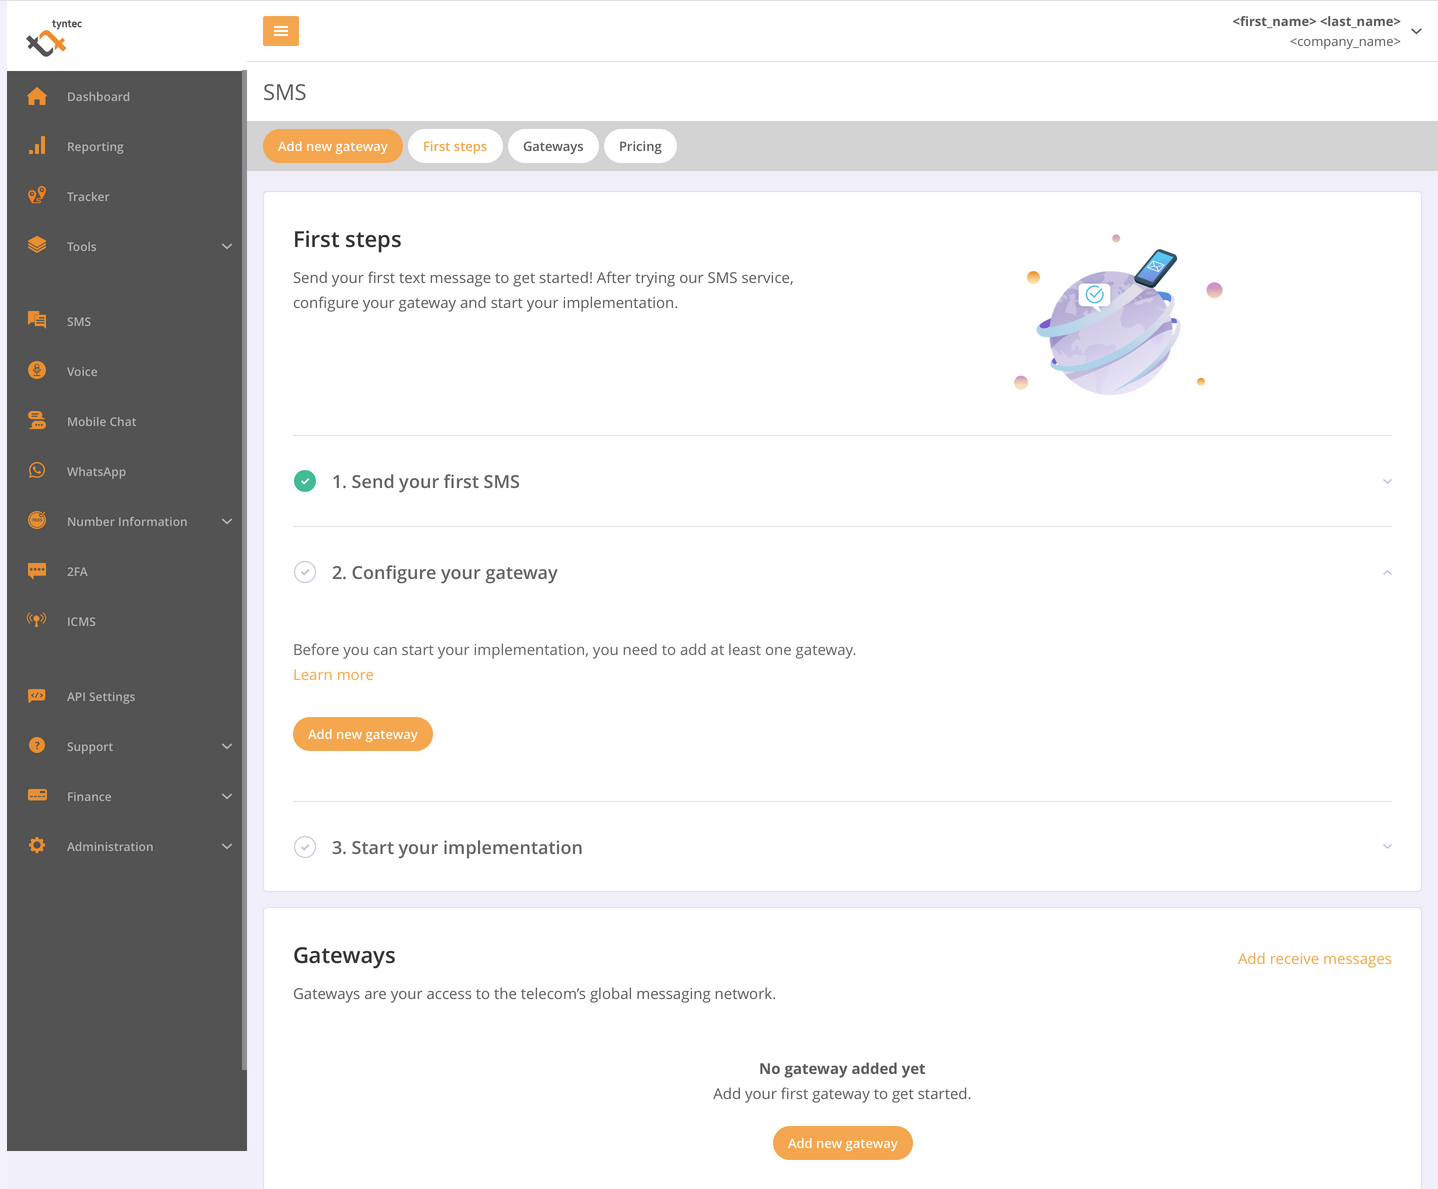
2. In the Gateway type menu, select the Web gateway (REST) option.
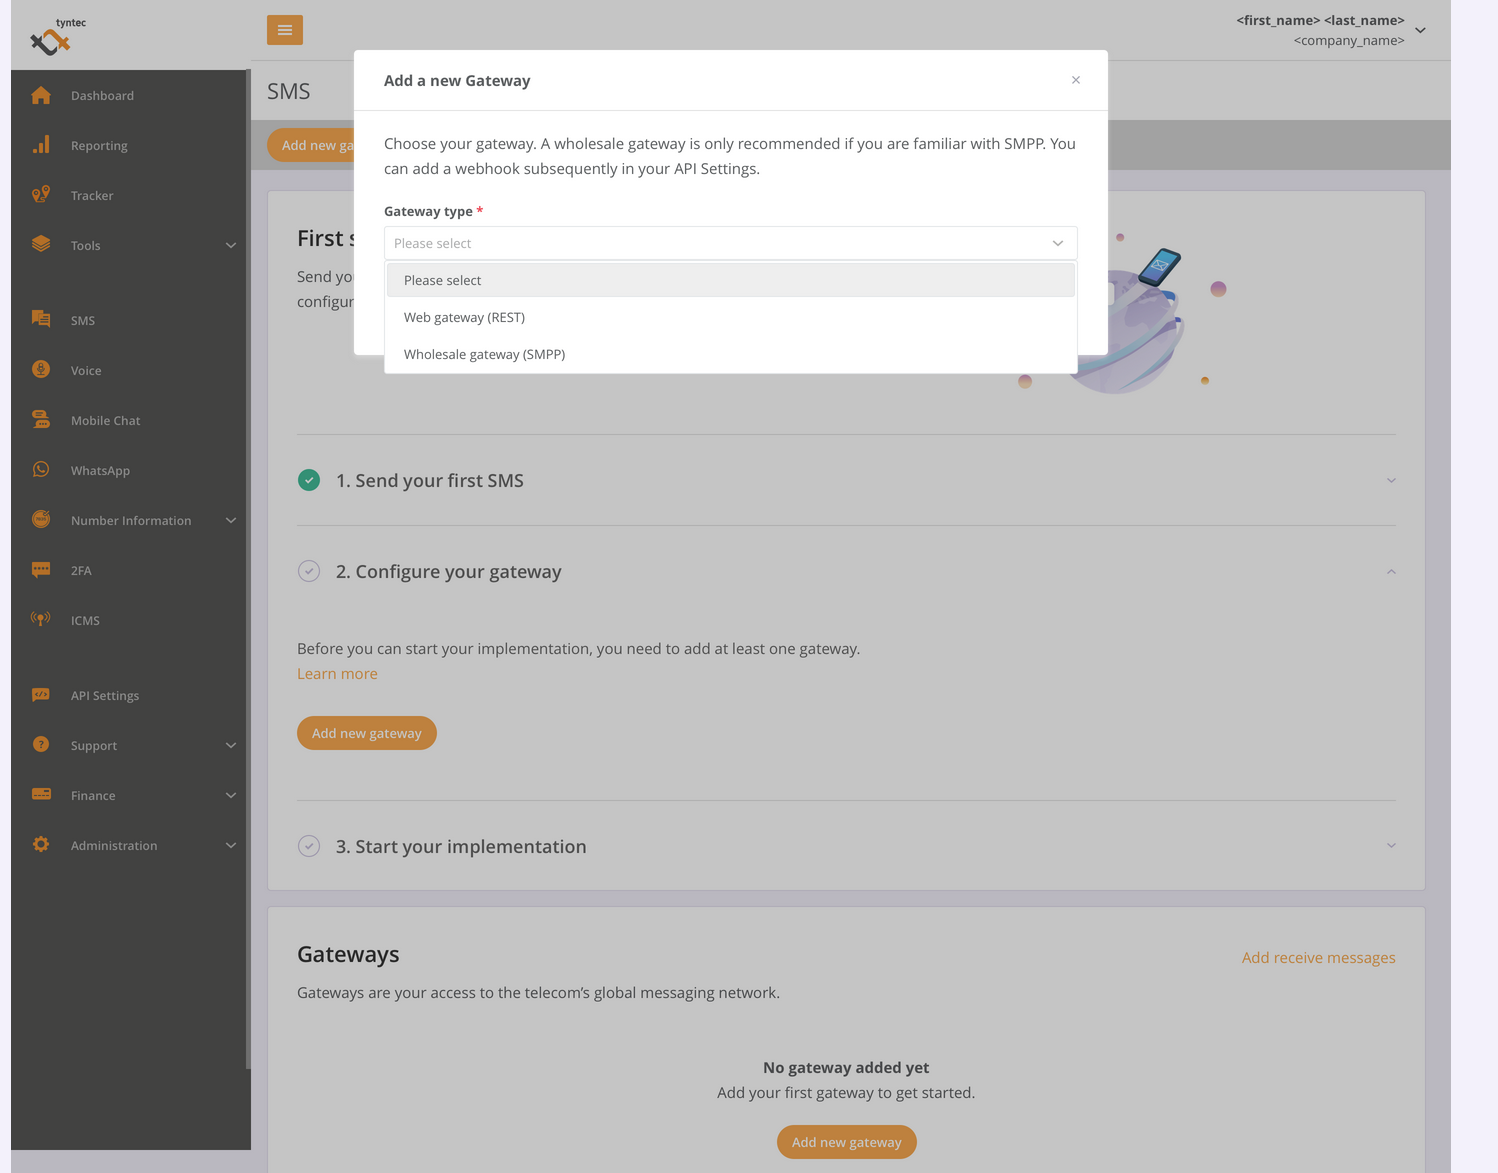
3. Confirm by hitting the Add gateway button.
And your gateway is ready!
Note: This gateway will allow you to send SMS and check on their delivery. If you need to receive SMS as well, you need to request a second gateway for receiving SMS.
Step Three: Subscribe to delivery notifications
You can find out about the delivery status of sent SMS in two ways: you can either poll the REST API for it, or you can subscribe a webhook to tyntec to be notified when the delivery status is updated (this way is generally preferred).
Note: For polling, you don’t need to set up anything in your tyntec.
For webhook subscription:
1. Go to API Settings in the left menu and click on the Webhooks button on top.
2. Select an API key, to which the webhook will be associated. You may associate one webhook per API key.
Note: Because API keys are different for trial and live environments, this is how you differentiate between testing and production webhooks.
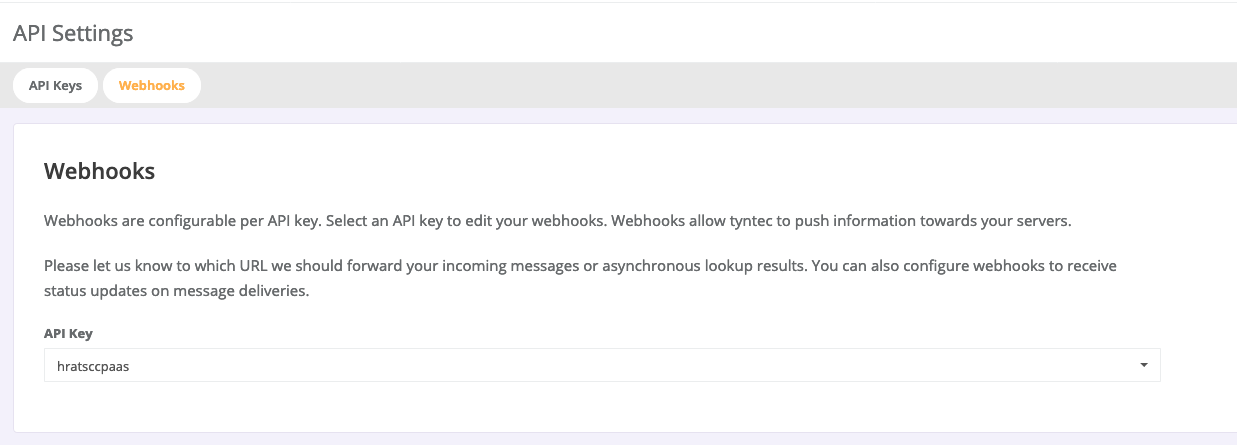
3. Set up callbacks to your webhook.

- Select the HTTP method, by which to call your webhook.
- Enter the URL address of your webhook, such as: https://yourapp.example.com/messages
- Optionally, you may add HTTP headers (both standard and custom) for tyntec callbacks.
We highly recommend using them to authorize tyntec callbacks to your webhook! For example:
Authorization: Basic <credentials>
4. And click on the Save changes button at the bottom right.
Now tyntec knows where to notify your app of SMS delivery!
Step Four: Request a gateway for receiving SMS
This functionality requires some manual settings on our part. To request it, do as follows:
1. Go to SMS > Gateways.
2. Click on Add receive messages on the right.
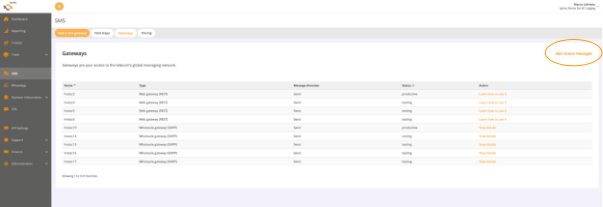
3. In the form, choose from which countries messages may originate.
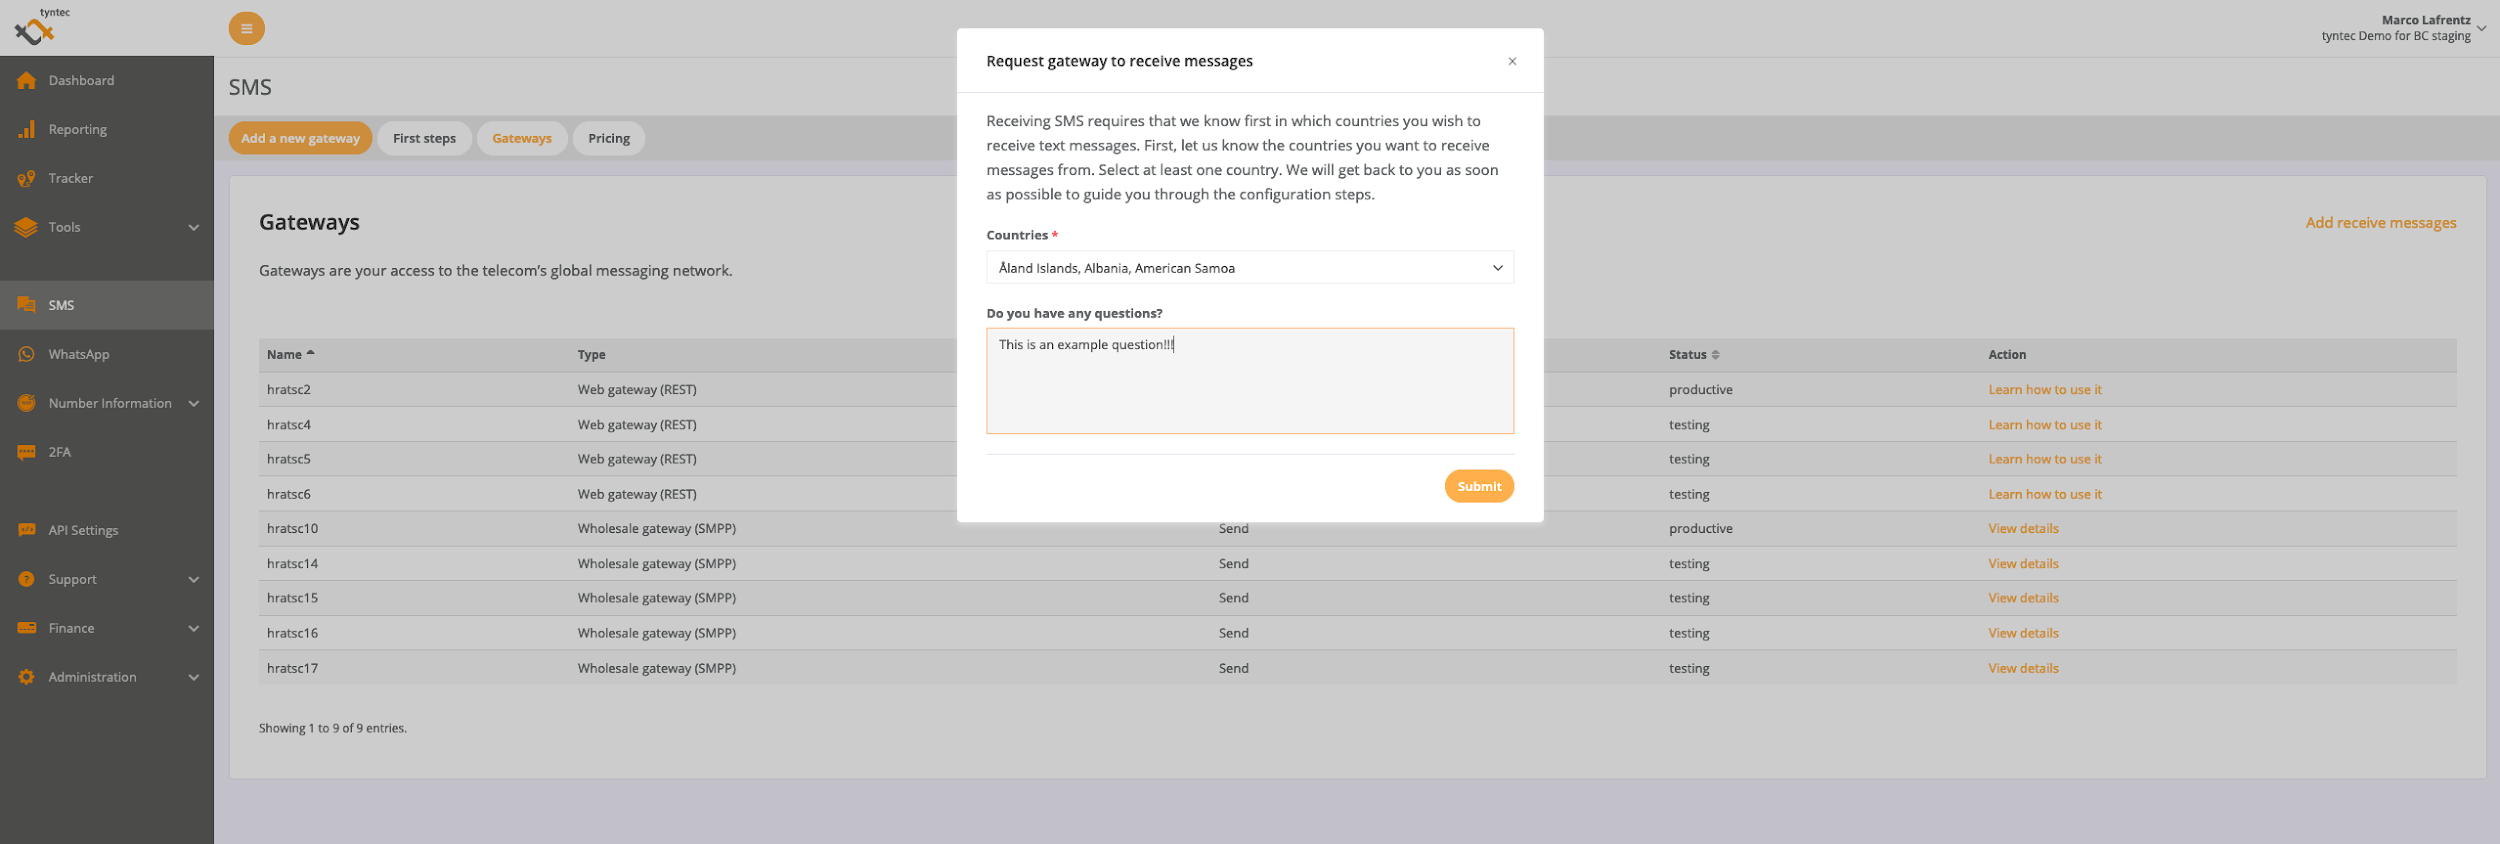
If you have any questions about receiving SMS, you may ask them here as well.
4. And hit Submit.
Once we get your request, we start setting up the gateway for you and we’ll get back to you as soon as possible!
Step Five: Subscribe to receiving SMS
After we’ve let you know that your receiving SMS gateway is ready, you need to subscribe your webhook for receiving SMS to tyntec.
Important: If you’ve used your first API key to subscribe a webhook to delivery notifications, you need to add a swap key in your API Settings first!
Then you set this webhook by taking similar steps as in Subscribe to delivery notifications.
Let’s implement
Finally, you need to implement the API calls and webhook endpoint(s) in your app, which is covered in the next topics.
Important: Copy your API key from API Settings, which you will need to authorize your API calls.
Now let’s go implement it!
